0 Comments
My Camera Settings for Mountain Bike Photography
When I'm taking between 200 and 400 photos, it's important for me to get things right in-camera to reduce the amount of post processing required following a session, so here's a run-down of my go-to settings. These are my base camera settings, which I tweak based on the situation I find myself in.
I use a Canon EOS R6, although most of these settings should be available on any recent DSLR or mirrorless camera. The exact setting names might be slightly different depending on the brand, but the basic principles are the same.
I shoot in manual mode to give me control over the main things that affect the final image: shutter speed, aperture and overall exposure. For mountain bike photography, I don’t want the camera making the big creative decisions for me, especially when riders are coming through quickly and I only get one chance at the shot.
These are my base MTB photography settings rather than fixed rules. I’ll tweak them depending on the light, the feature, the speed of the rider, and the kind of image I’m trying to make, but this is the setup I usually start from.
Shutter speed: 1/1250s
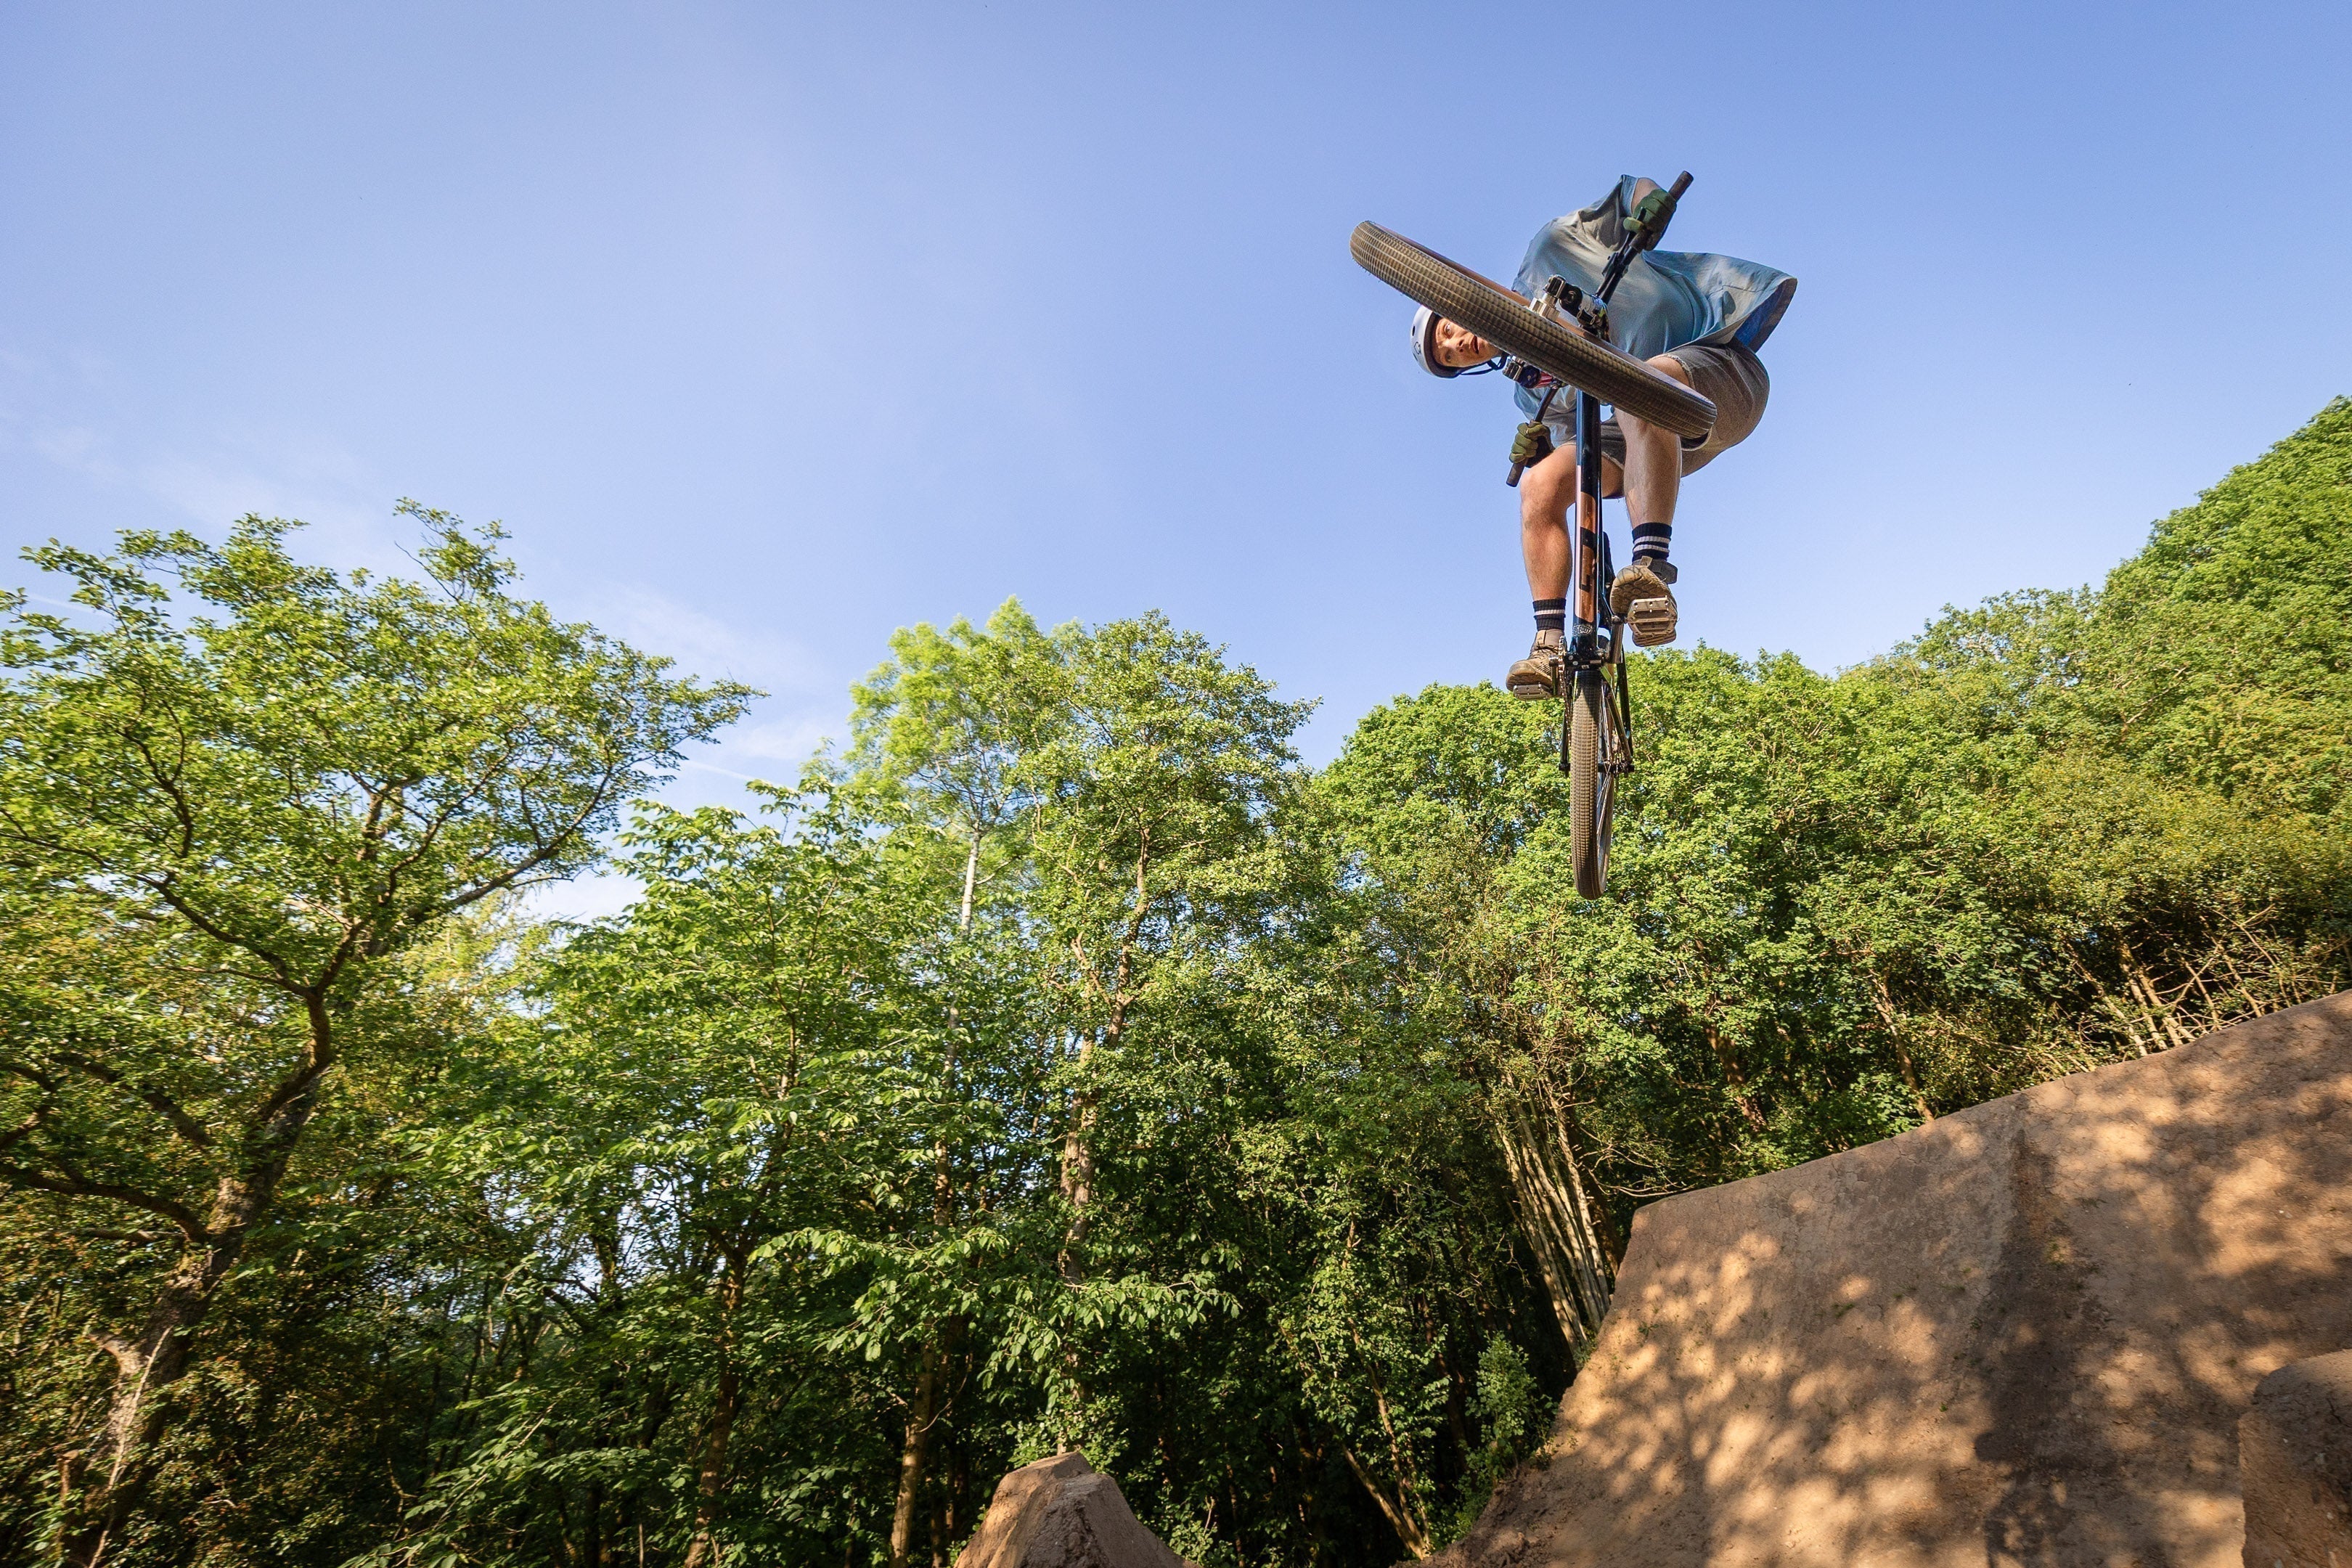
I usually start at 1/1250s, as it lets me capture fast-moving riders without unwanted motion blur. For bike park photography, riders can be moving quickly through the frame, throwing the bike around, or landing hard, so I want a shutter speed that freezes the action cleanly. This is probably higher than I need in a lot of situations, but I’d rather be on the safe side. There’s nothing worse than getting the timing, composition and rider position right, only to realise later that the image is soft because the shutter speed was too slow.
Using a shutter speed this high also removes camera shake from the equation, especially when I’m shooting handheld with a longer lens. Because of that, I’ll often disable image stabilisation. If I’m already shooting fast enough to freeze both the rider and my own movement, I don’t really need the stabiliser doing anything in the background. If the action is slower, or I’m short on light, I’ll sometimes drop the shutter speed a stop or two. But for my usual bike park setup, 1/1250s gives me a reliable starting point and keeps the hit rate high.
Aperture: f4.0
For most bike park sessions, f4.0 is a good starting point. It gives enough background blur to help separate the rider from the surroundings, without making the depth of field so shallow that I’m constantly missing focus. f4.0 gives me enough depth of field to keep the rider and bike sharp, which matters because the rider may be moving quickly, leaning the bike over, or not hitting the same line every time. It also lets in a decent amount of light, which helps when I’m already using a fast shutter speed.
If I’m shooting in the woods or the light is poor, I’ll open the lens up as much as I can. If I’m trying to get more than one rider in focus, or the line through the feature is a bit less predictable, I’ll stop down to f5.6 to give myself a bit more margin for error.
ISO: Auto
I let the camera make the decisions on ISO. A session may last several hours, and the light can shift constantly from full sun to cloud, especially in the mountains. Auto ISO means I don’t have to keep chasing the exposure every time the light changes, which gives me one less thing to think about.
I usually leave exposure compensation in the middle. In harsh or patchy light this can sometimes mean the odd highlight gets blown, but for this kind of shooting I’d rather protect the rider and keep the subject properly exposed than underexpose everything and have to drag the shadows back up later. That usually creates more noise and makes the files harder to work with.
Drive mode: Low-speed continuous shooting
I use continuous shooting to ensure I never miss the shot. I find low-speed continuous shooting does the trick and the R6 gives me 3 shots per second. I try not to fire more than 2 or 3 shots of each rider. A lot of cameras, mine included, will offer much higher continuous shooting rates, however I prefer to keep things slower to save culling time when I finish a session.
It also means I’m not padding out galleries with huge bursts of near-identical images. I’d rather upload a smaller number of stronger shots than 10 or 12 frames of the same rider doing almost the same thing. A short burst gives me enough choice to pick the best moment without turning the gallery into a contact sheet.
Focus mode: Servo auto focus
I use Servo auto focus, which is designed for tracking moving subjects. For MTB photography this is essential, because the rider is usually moving towards me, across the frame, or through a feature where the distance is changing quickly. One shot focus is fine for static subjects, but for action it gives the camera one chance to lock focus and then it stays there. Servo keeps adjusting as the rider moves.
I disable Eye detection, as it can sometimes confuse the camera when a subject is wearing goggles, a full-face helmet, or has their head turned away from the camera. In theory, eye detection sounds ideal, but in practice it can be more of a distraction than a help. I don’t need the camera hunting for an eye; I need it to stay locked on the rider.
My camera has a really useful people detection function, which I enable. This allows me to use a large auto-focus area and trust the camera to lock in on the rider, rather than having to keep a tiny focus point perfectly placed while someone is moving quickly through the frame.
It’s not perfect, and I still need to pay attention to where the rider is in the frame, but it gives me a much better hit rate. As with the rest of these settings, I try to keep it simple. The less I’m fighting the camera, the more I can concentrate on timing, composition and the rider’s shape.
White Balance: Auto
To help keep things simple in changing light conditions, I usually leave white balance on Auto. During a bike park session, the light can change constantly, especially if riders are moving between open sections, shaded woods, and patches of sunlight. Auto white balance means I have one less thing to think about while shooting.
That said, it’s not perfect. The camera can sometimes make the wrong decision, particularly under heavy tree cover where everything can go a bit green, or when warm sunlight is cutting through the trees. This can leave some images looking too cool, too warm, or slightly inconsistent from one rider to the next.
For most sessions, I’m happy to correct this afterwards with a small global tweak, but if the light is really consistent, setting a fixed white balance can make the gallery easier to edit later. As with the rest of these settings, Auto is my starting point rather than a hard rule.
Picture Format: JPG
Raw files are massive, and when you’re shooting 200 to 400 images in a session, they quickly become a pain to store, cull and edit. For this kind of work, JPG makes a lot more sense for me.
The main thing is getting the exposure, white balance and overall look close in-camera. If I do that, I don’t need the extra flexibility of raw for every shot. JPG files are quicker to import, easier to work through, and much faster to deliver.
The only thing I do have to be careful with is highlights. JPG files don’t give you the same recovery as raw, so if you properly blow out the sky, a helmet, or a bright patch of track, there often isn’t much you can do with it afterwards. Because of that, I try to keep an eye on exposure and avoid pushing things too far, especially in harsh sunlight or patchy woodland light.
I’ll still shoot raw if the conditions are really difficult, or if I’m working on something more creative, but for regular bike park sessions, JPG keeps the whole process much more manageable.
Keeping Things Consistent
I’ve recently started shooting from a tripod in some situations. It’s not something I use all the time, but when it works, it can be really useful. It helps keep the framing consistent, which is ideal when lots of riders are hitting the same feature and I want the final images to feel similar.
It also makes editing quicker, because I’m not having to crop and straighten every single photo from scratch. I can get the frame dialled in, let riders come through, and then apply a more consistent crop or edit afterwards.
My camera also lets me save settings into custom modes, so I keep these as a base setup. That way, I can switch into my bike park settings quickly and then make small adjustments depending on the light, the feature, or the kind of shot I’m trying to get.
What Works For Me
These settings aren’t meant to be perfect for every situation, but they give me a solid starting point for most photo sessions. The aim is to keep things simple, get the image as close as possible in-camera, and reduce the amount of work needed afterwards.
For me, the main priorities are freezing the action, keeping the rider sharp and making the edit as quick and consistent as possible. I’ll still adjust things depending on the light, the feature, or the type of shot I’m trying to get, but this setup gives me a reliable base to work from.
If you shoot similar stuff and would do anything differently, let me know in the comments below. I’m always interested to hear how other people approach this kind of photography.
Follow @bikeparkphoto


Leave a comment
This site is protected by hCaptcha and the hCaptcha Privacy Policy and Terms of Service apply.